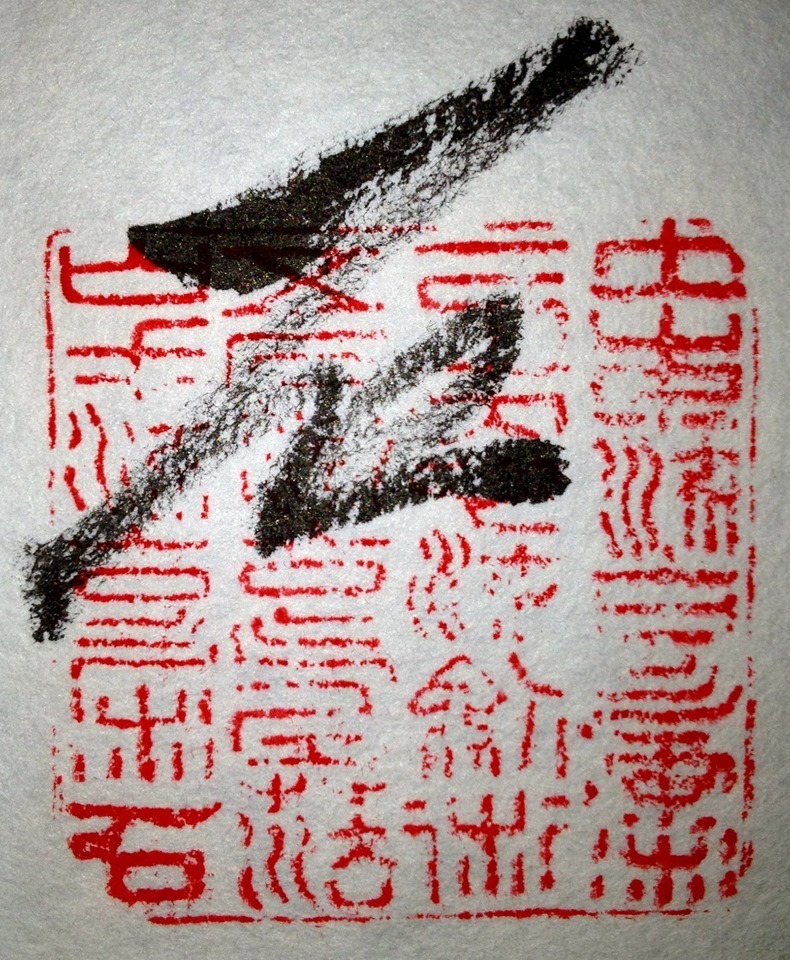
Hanko — Japanese Signature Seals

by Steve Weiss
There comes a time in the life of an instructor when you are faced with the task of issuing menkyo (rank certificates) to your students. One of the essentials pertaining to this job is the proper use of hanko (seals). The first thing you must do is of course find a qualified seal carver to make the actual seals for you. At this point you will probably wish to have at least three seals made. These should include your personal seal, your dojo and/or organizational seal, and the ryu seal. If you instruct in more than one ryu you will want to have seals made for each.
Most seals are carved from soapstone and always done in tensho (ancient-style characters). Stones are much like jewelry in terms of quality. There are over 30 types of stones used for seals. Yellow stones are usually the most expensive. Most stones come from China, some from Japan, and only a few from Taiwan.
Most of your hanko should be relatively small. Only kings or emperors used the large seals. (By the way some kings used to have their seals carved from gold and some used bronze or brass). Most seals are square or rectangular. Banks commonly use round seals.
Once you have your hanko made you are ready to start thinking about how to actually use them. Next you will need to purchase inniku (a red ink pad for your hanko). There are a wide variety of inkpads available and the cost will vary greatly. The Japanese have six different colors of red and the Chinese have three. Inexpensive inkpads will start at around $20.00 and go on up into the $100s. Be advised that the quality of the inkpad will determine the quality of the seal impression. Most artists will use a very dark red for a line seal and an orange/red for a reversed seal. However, you will usually want to use only one color per menkyo.
Next we must consider where to apply your hanko. Your personal seal will normally be applied over your signature on a menkyo. If you are using the same seal on a kakemono (hanging scroll) it will normally go under your signature. The other two seals are not as critical. Usually your organizational seal will go over that written portion on the menkyo itself but can be placed where you wish. The ryu seal is usually placed over the written portion also but once again feel free to place it where you like. Many instructors like to place the latter two seals over the person’s name and rank so they cannot be changed. To apply ink to your hanko hold the inkpad in your left hand (never let it rest on a hard surface) and the hanko in your right hand. Gently tap the inkpad 10–20 times making sure that you apply ink to the border of the hanko. You will notice when you purchase the inkpad that the pad slightly slopes downward from the center. This is the way you wish to keep your pad shaped. The more expensive inkpads will come with a little spoon made from horn. This spoon is used to help you maintain the shape of the pad for proper use. As you tap the hanko against the pad it is not necessary to apply ink to the entire hanko with every tap. Actually, with large seals, this is impossible.
Now you are ready to actually stamp the menkyo. Before you do this be sure and put a piece of shitajiki (felt) under the menkyo. This will help the ink sink into the paper itself and will also help keep the hanko from being damaged. Now apply the ink to the paper by pressing down hard and maintaining the pressure for a few seconds. Next leave the hanko in contact with the paper but release the pressure. Next press down one more time and then quickly lift the hanko straight up. By the way, applying ink is considered a skill unto itself, so you will want to practice. Be sure and let the ink dry before you roll the scroll back up.
A few more comments about the ink itself. The air will dry out the ink so you will want to keep the container tightly closed. Only two companies make inkpads in China and none in Taiwan. The best company is over 300 years old and guarantees the ink for 50 years. Cheap ink has more oil in it and will fade out in three months to one year. Cheap ink is also very ugly. (This article will not discuss the other important element so important to hanko, paper — there are hundreds of types of paper.)
Once you are finished with your hanko always clean them before putting them up. Take a piece of tissue paper and stamp it several times to remove the excess ink. Next take a toothbrush and run it across the hanko several times to get between the characters. By the way, don't ever use your hanko with red ink and then orange ink without a good cleaning or you will distort the inkpad forever.
For storage some sort of padded box is best. Most hanko will come in a little box when you purchase them. They look like a miniature casket padded on the sides and bottom. Another idea is to buy a nice wooden box or even a cigar box will work fine. Be sure and pad the box well to prevent the stones from chipping.
Remember that your hanko are made from a very soft stone and will break easily. But with proper use and care they will last a lifetime.
